
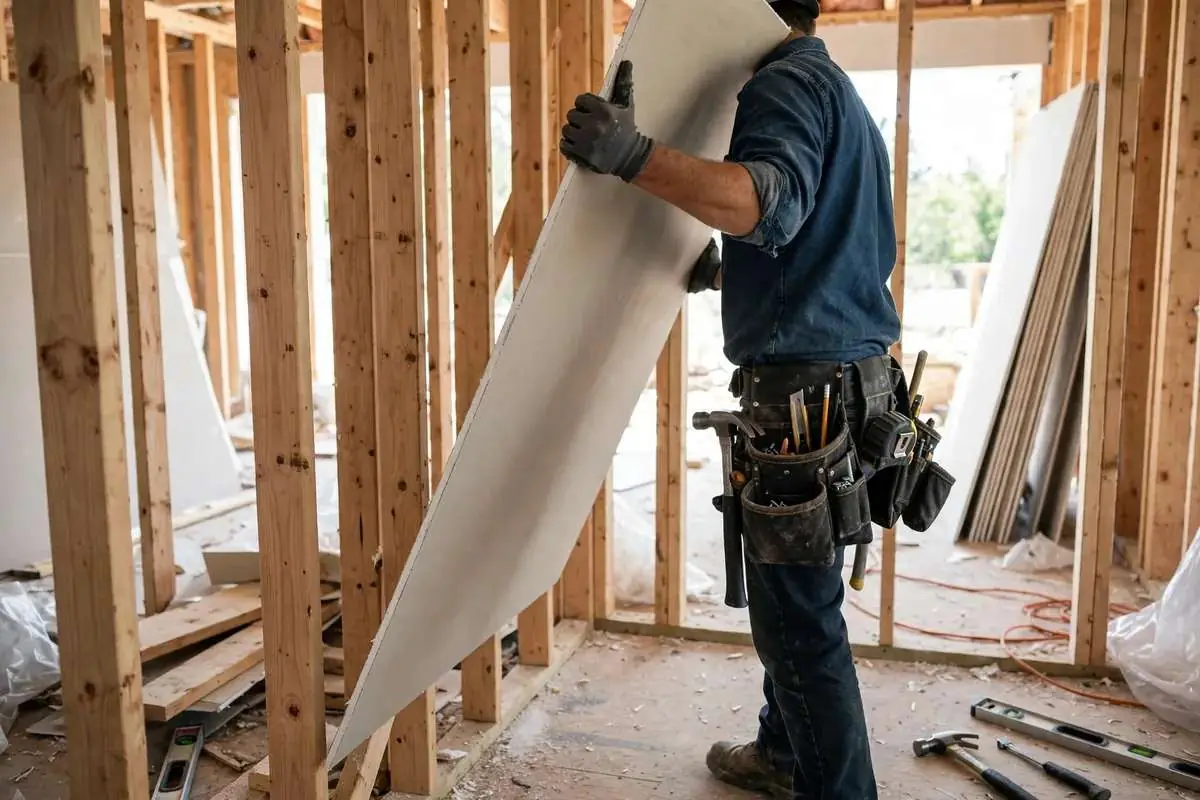
Drywall taping and finishing in Silver Spring: where walls are won or lost
Drywall taping and finishing in Silver Spring, MD decides everything you will see for twenty years. Two crews can hang the same boards. One wall looks like glass. The other shows every seam. The difference is all in the mud work.
What proper finishing looks like
Tape bedded, not floated. Tape pressed into solid mud. No air under it. Air bubbles become cracks.
Three coats, each wider. The first beds the tape. The second feathers wider. The third goes widest. Each coat hides the last one's edge.
Sanded between coats. Ridges come off before the next coat. Not all at the end.
Angled-light check. We hold a light low across the surface. What the light finds, paint would find.
Re-taping failed seams
Much of our finishing work is rescue work. Seams the last crew rushed. Tape that bubbled or cracked. We cut out the failure. We re-bed fresh tape. We rebuild the coats. The wall ends up better than new. See signs you need drywall repair.
Skim coating
Some walls need the whole surface fixed. Heavy old texture. Rough plaster. We skim-coat: mud over everything, sanded flat. New surface, no demolition. See plaster repair.
How it works: finishing
Finishing is the slowest part of drywall. It cannot be rushed. Here is what to expect when we take it on.
We look at the hanging first. The boards must be tight and screwed right. Bad hanging makes finishing harder. We flag problems before we start.
We tape every seam. Paper tape bedded in solid mud. No air bubbles. Corners get taped too. This is the foundation of the whole finish.
Three coats, days apart. Each coat goes wider than the last. Each must dry before the next. This is where rushed crews cheat. We do not.
We sand between coats. Ridges come off as we go. The final sand is light. Dust stays controlled.
Angled-light check. We hold a light low across every wall. What the light finds, we fix. Then you get paint-ready walls.
New finish versus rescue work
About half our finishing work is new. Boards someone else hung. Or boards we hung ourselves. We take it from bare board to paint-ready.
The other half is rescue. Seams showing through paint. Tape bubbling off. Corners cracking. Rescue work starts with cutting out the failure. Then we rebuild it right.
Rescue costs more than doing it right the first time. That is the honest math. But the rescue ends the problem for good.
Finish levels, chosen for your home
Level 4 is right for most Silver Spring homes. Smooth under normal light. Paint looks even. This is our standard recommendation.
Level 5 suits rooms with harsh side light. Big windows. Skylights. Anywhere light rakes across the wall. The skim coat costs more. It is worth it there.
Level 3 works for garages and closets. Anywhere the finish does not matter much. We will tell you if your room can live with Level 3.
What good mud work feels like
Run your hand across a finished wall. It should feel like one surface. No bumps at the seams. No dips at the screws. Just smooth.
Then look at it with light from the side. Side light is honest. It shows what straight-on light hides. Our walls pass that test.
What to ask on your free visit
A good estimate visit is a two-way conversation. Here is what to bring up while we are looking at your walls.
- What finish level are you quoting — and what would the next level up cost?
- Which walls need re-taping versus a full skim coat?
- How will you protect the rooms we are not working in?
- What does the schedule look like, day by day?
- If a seam shows later, what happens?
Cost
Finishing prices by the foot or by the room. Starting condition and finish level move the number.
A note on prices: costs go up and down. No two jobs are the same. Treat numbers here as starting points, not quotes. Your written estimate is the real number for your project.
Call (301) 679-9193 for a free visit.
Related services & guides
More on this topic from Silver Spring Drywall Pros: